As an Amazon Associate we earn from qualifying purchases.
A lot of girls pick up the blow-dryer at least a couple of times a week, but there is more to the art of blow-drying than you might realize. There is a right way to do it and a wrong way, and if you’re curious why your blow-drying technique doesn’t leave your hair looking ‘salon fresh‘ you might be interested in a few tips and tricks to get it that way.
Here are some top blow-drying tips that can help you achieve a great hairstyle:
Contents
1. Don’t Blow-Dry Soaking Wet Hair
You should start drying your hair immediately, correct? No, this is wrong! Trying to blow-dry sopping wet hair can be damaging. First you should towel-dry your hair to get the excess water off, then blow-dry it using your hands to lift it up in sections, and when it is about half-dry you can start to dry from the roots to the tips, sectioning it if the hair is long.
2. Remember the Heat Protectant
Before that blow-dryer gets anywhere near your crowning glory, you should apply some kind of heat protectant. This is very important because it protects your hair from the heat of the dryer (and then from your tong or straightener if you use those afterwards). Your hair is delicate, so you need to take care of it.
3. Choosing the Right Brush
Another misconception about blow-drying is that all brushes are pretty much the same, but that isn’t the case. Your choice of hairbrush depends on the length, thickness and type of your hair. A metal brush might help to smooth your locks but it will act as a flat iron when warmed up by the hot air from the dryer and that can damage the hair. A large round bristle brush is good for giving your hair extra body. A wide-tooth comb can be used to separate tangled strands.
4. Best Blow-Drying Technique
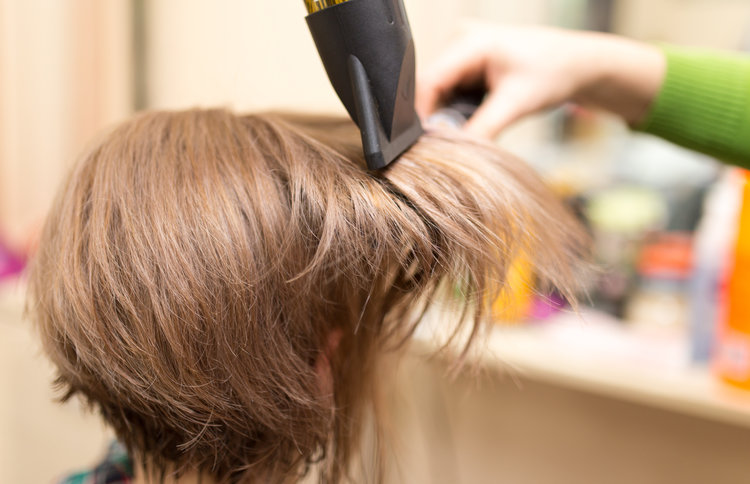
Start at the roots and gently pull the brush down to the ends of the hair, moving your blow-dryer down as you go. This means your hair will dry quicker than if you were just to blast the hot air randomly over your head (and it will also encourage a sleeker finish!)
5. Which Hairdryer to Use
Just as choosing the correct hairbrush and heat protectant are important, so is choosing the best blow-dryer. A ceramic dryer uses infrared heat which is less damaging and tourmaline dryers use infrared heat and negative ions to fight the frizz, while an ionic dryer uses heat and force as well as water breakdown technology. Compare various blow-dryers before purchase to find which one is best for your individual needs.
6. Check the Heat Setting
All but the most basic blow-dryers offer a choice of heat settings, and you shouldn’t just choose one depending on how much of a hurry you happen to be in! The highest heat is best for very thick or coarse hair while the low heat is for delicate or thin hair, or hair which is almost dry. Some blow-dryers feature a ‘cool shot’ button which can be used to help seal the hair cuticle and set your look so it holds for longer.
7. What about Those Attachments?
The concentrator nozzle attaches to the blow-dryer to direct the air. This is useful if you are drying your hair straight and sleek and you want to discourage frizz. Choose the diffuser if you are drying curly hair and you want to make the most of those curls.

Amazon and the Amazon logo are trademarks of Amazon.com, Inc, or its affiliates.


It really helped when you said that blowing drying you hair while it’s still soaking wet is very damaging. Between my job and taking care of the kids, it’s really hard to find the time to pat your hair dry before blow drying it. I have to be always on my feet so I can stay on top of things. My hair’s health is more important than how it looks, so I’d be sure to follow your tips moving forward. I’ll also visit a salon this weekend to have a professional work on it. Thanks for the informative read!